#windows terminal#oh-my-posh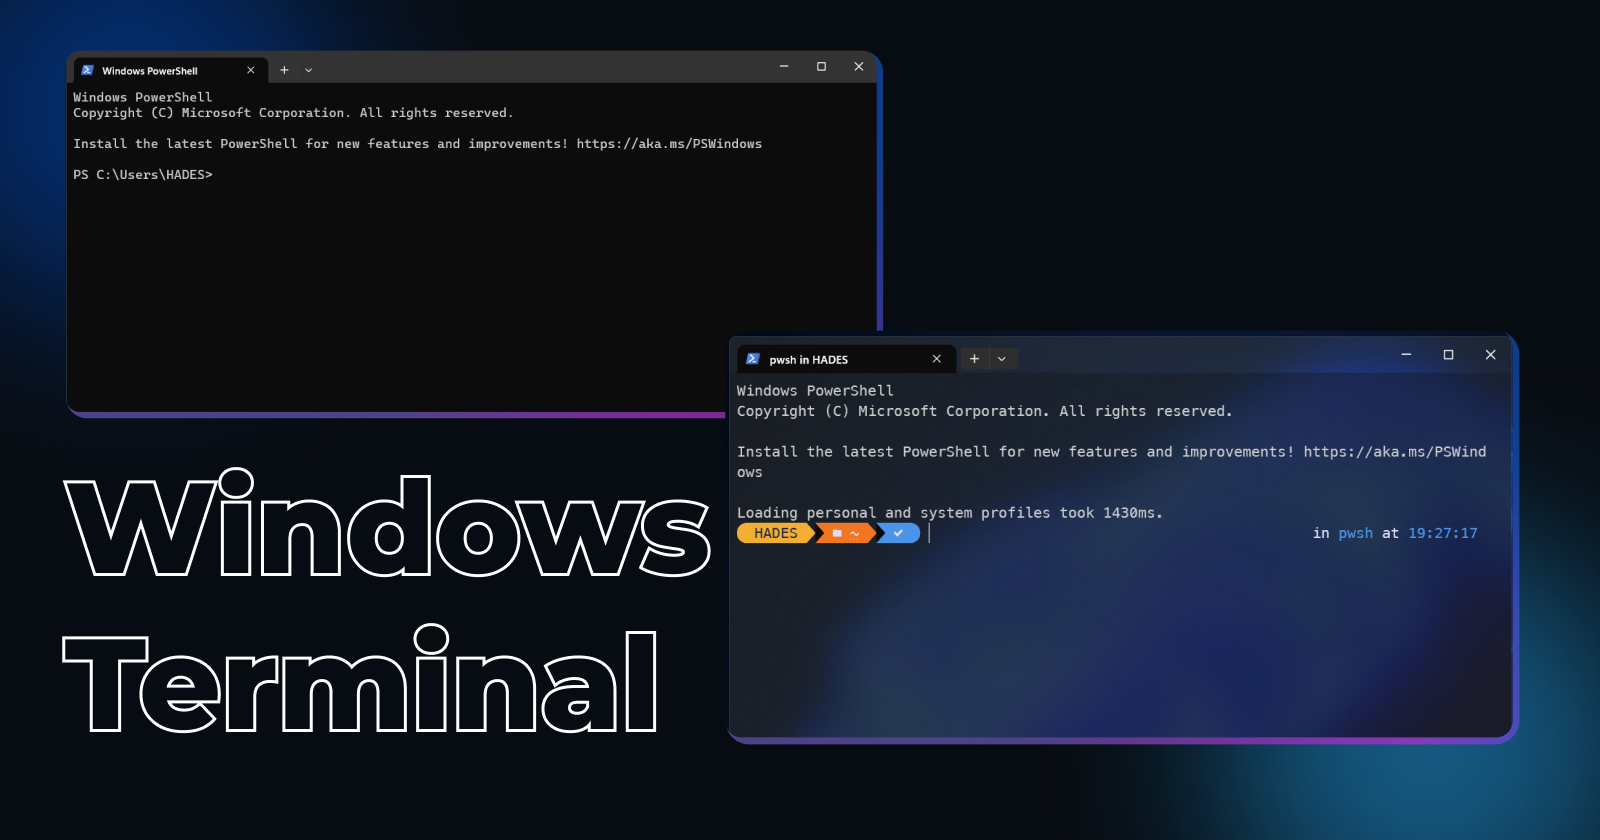
Upgrade the look of your Windows terminal
The default look of any terminal is pretty boring, it only provides a basic interface and that's how it may be supposed to be but we can always change it to our liking, right? In this blog post, I'm going to write about How we can change the theme of the Windows terminal.
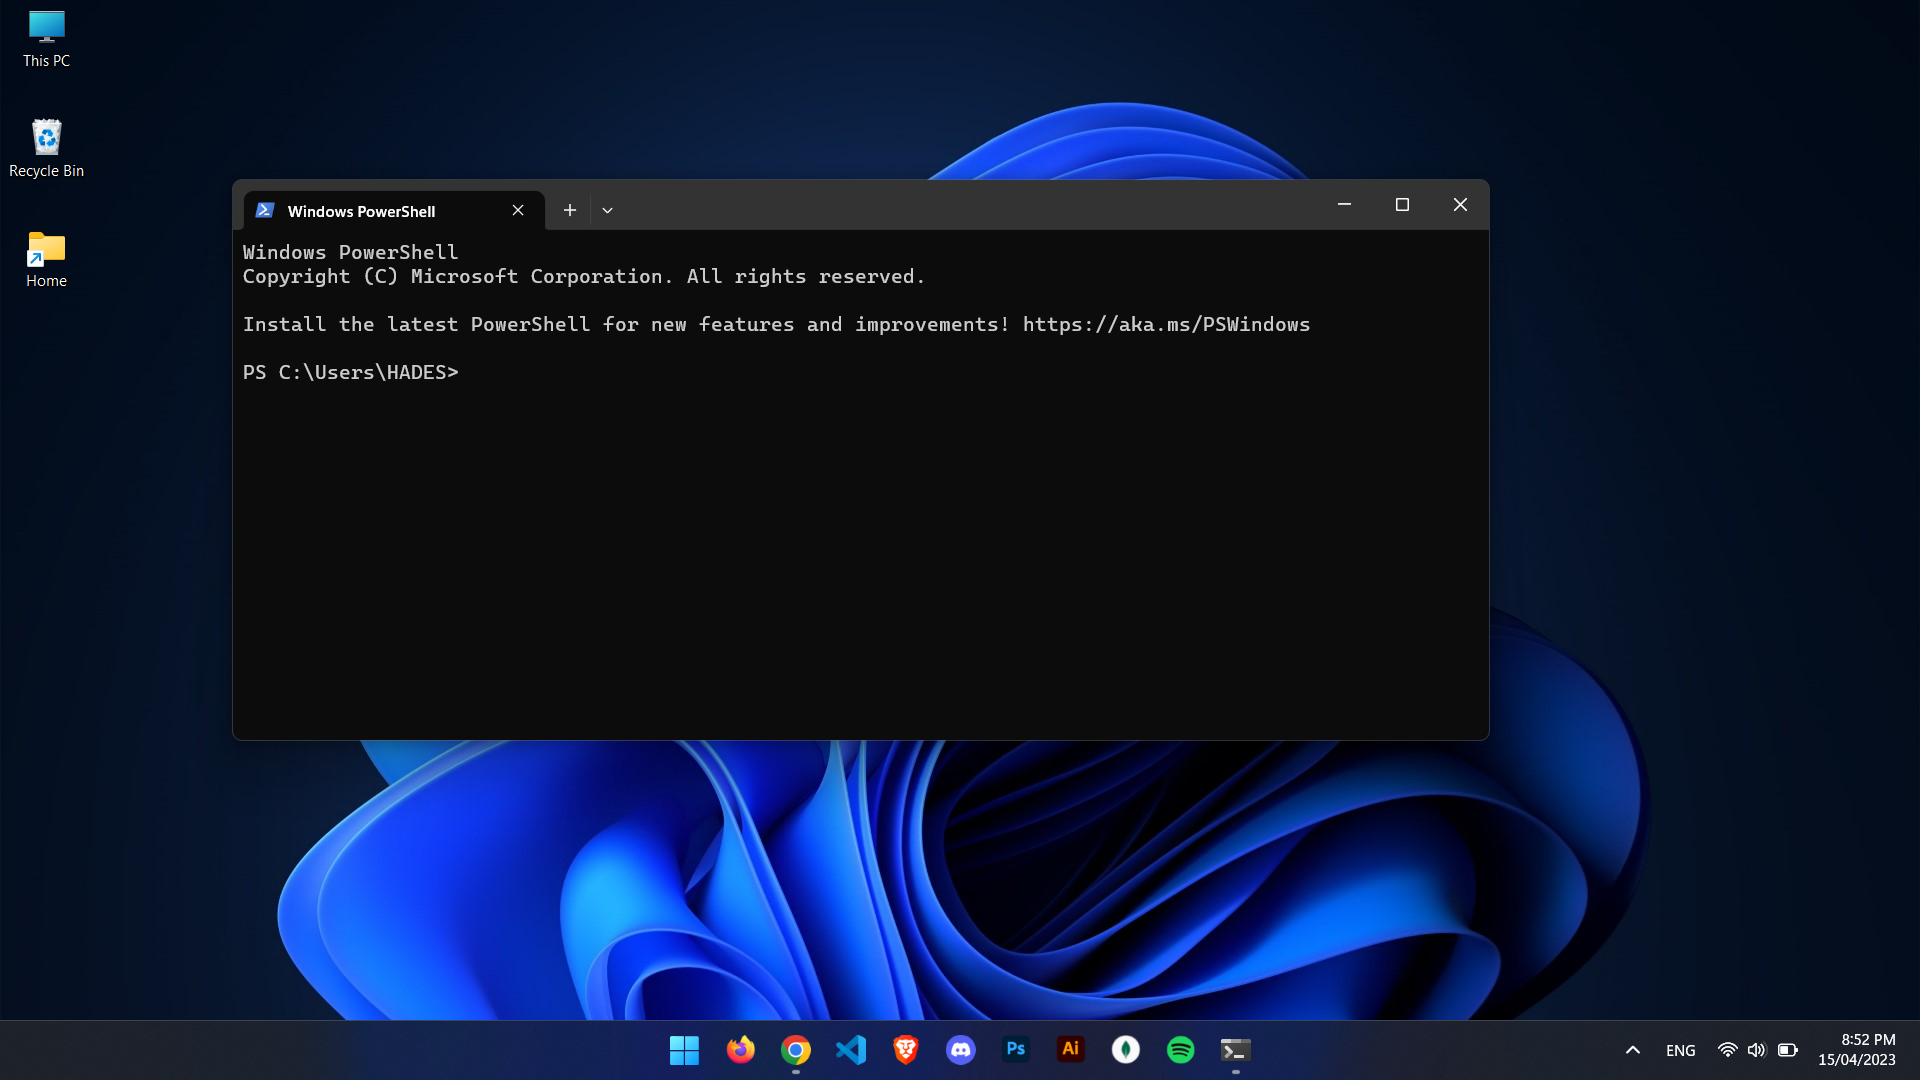
This is what the default terminal looks like
This is what we will make it look like in the end
So you in?
We will be using https://ohmyposh.dev/ to customize our terminal, they have a pretty sweet doc for this process https://ohmyposh.dev/docs/installation/windows
Let's get started:
Install oh-my-posh
Run this command, to install OhMyPosh first,
winget install JanDeDobbeleer.OhMyPosh -s winget
Then go ahead and close that terminal window and reopen it again, it's advised to do so, so that the PATH variable is reloaded as mentioned in docs.
Now after the successful installation of oh-my-posh, we need to configure PowerShell to use oh-my-posh by default. We need to edit the PowerShell profile script.
Create a PowerShell profile file
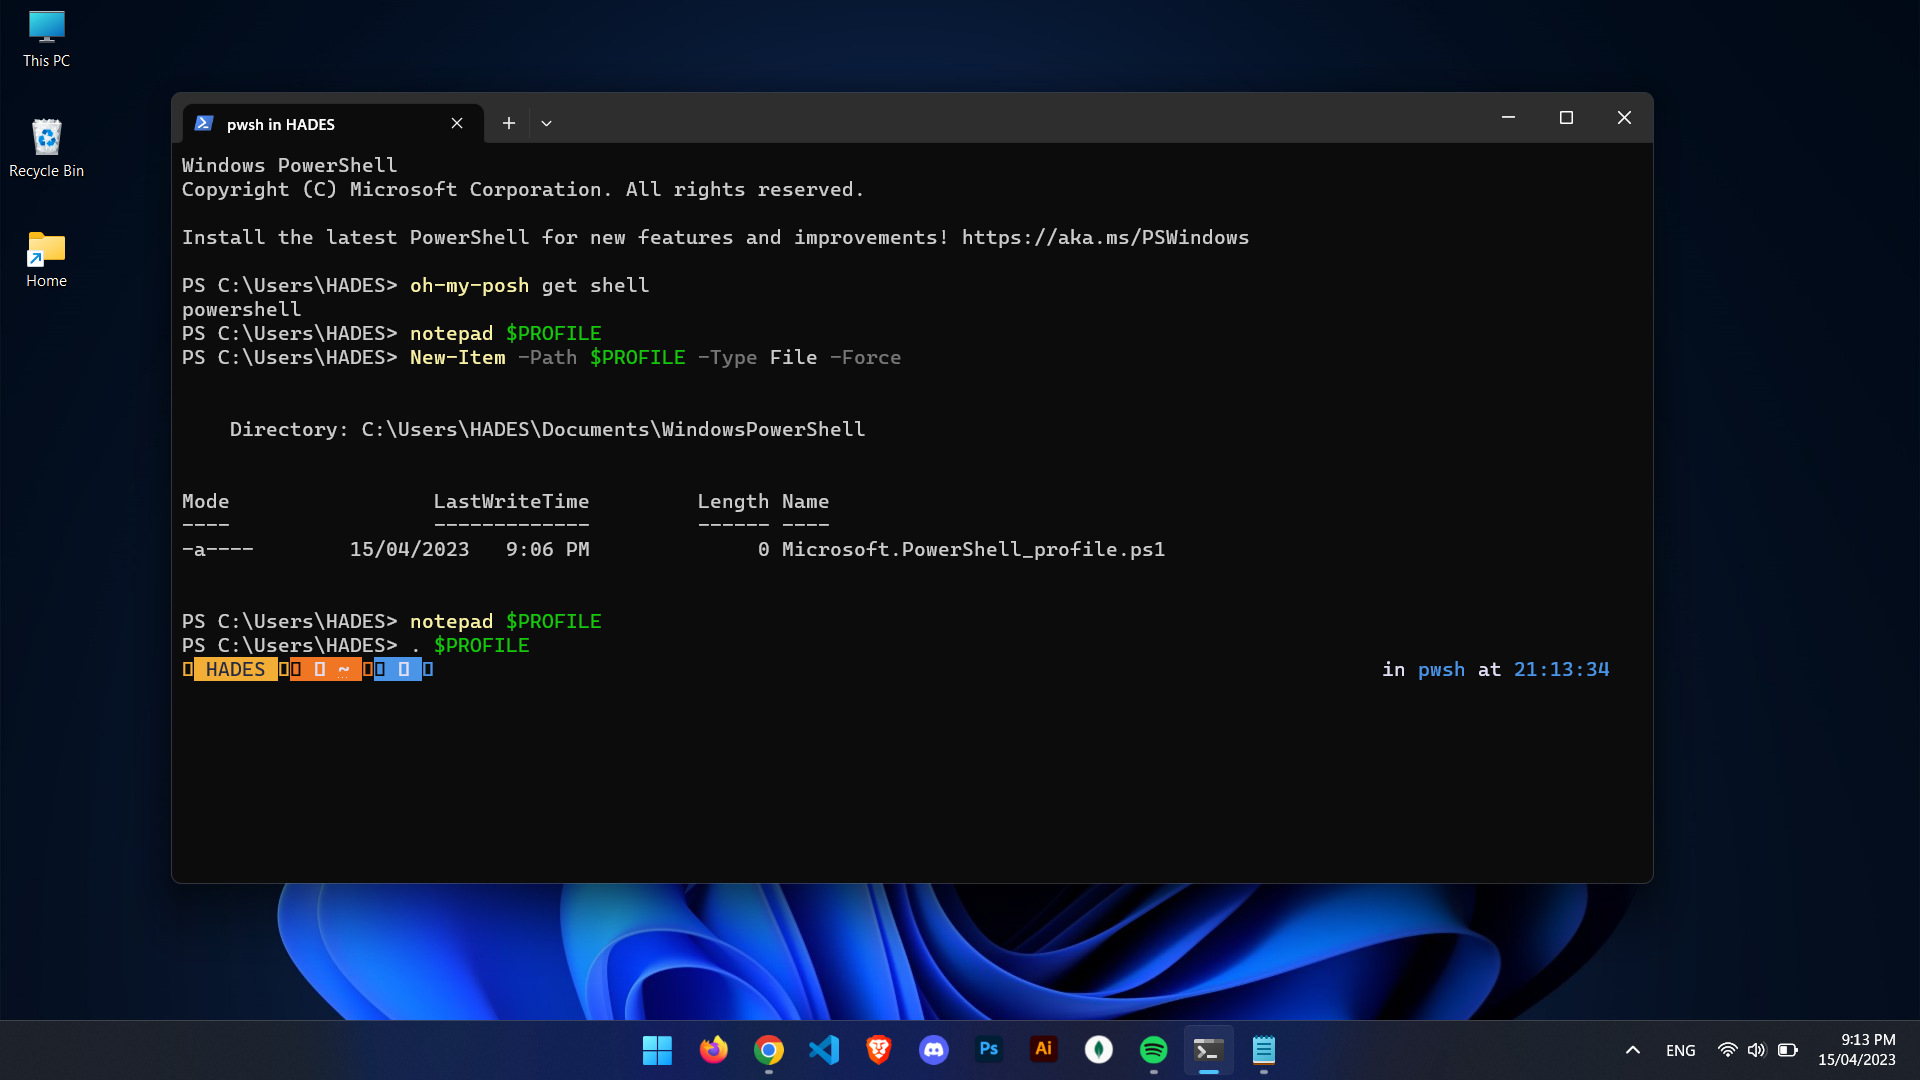
I'm assuming this is your first time doing it so you don't have any PowerShell profile files already on your computer, to create a PowerShell profile we run the following command in PowerShell
New-Item -Path $PROFILE -Type File -Force
Open the PowerShell profile file
Then run the following command
notepad $PROFILE
Tell PowerShell to run oh-my-posh
This will open up the PowerShell profile file in Notepad. Assuming the file is empty we paste the following line
oh-my-posh init pwsh | Invoke-Expression
After adding the above line save the file and close it. Then go back to the terminal window and run the following command
. $PROFILE
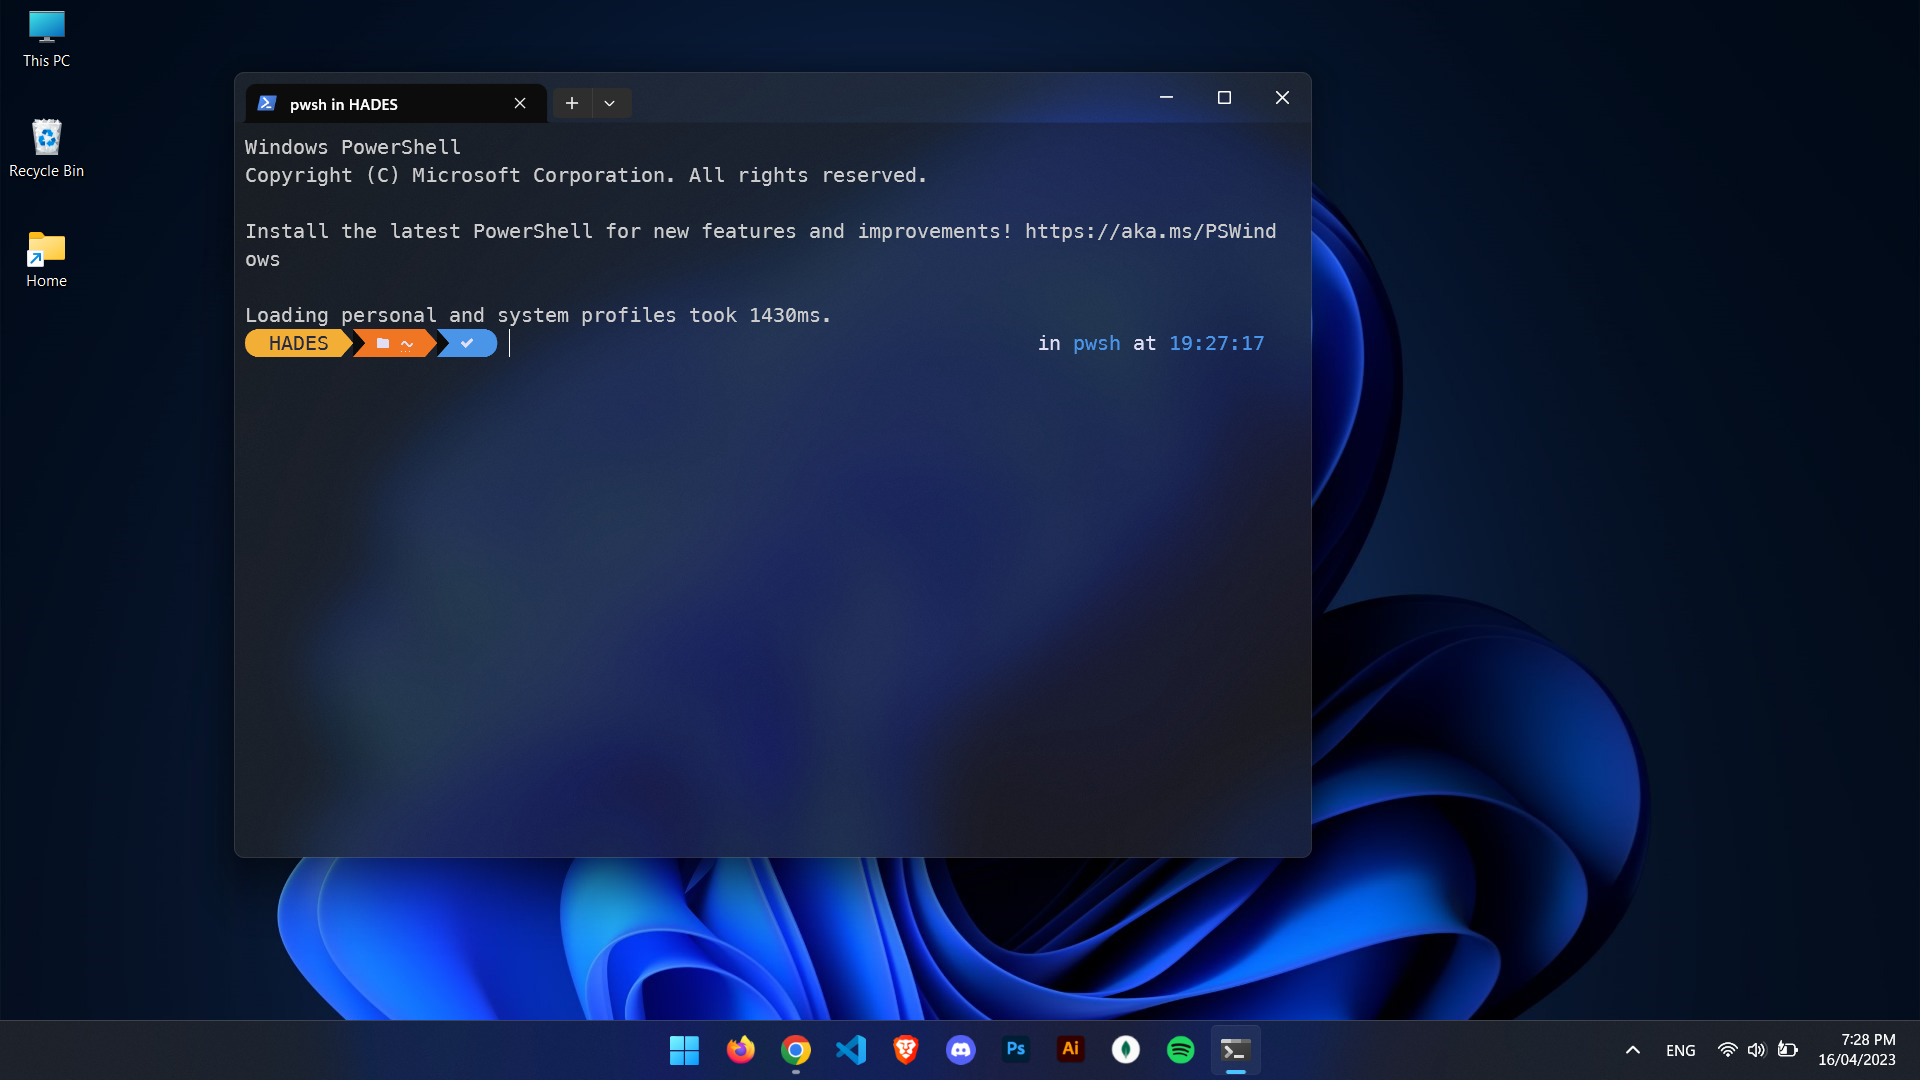
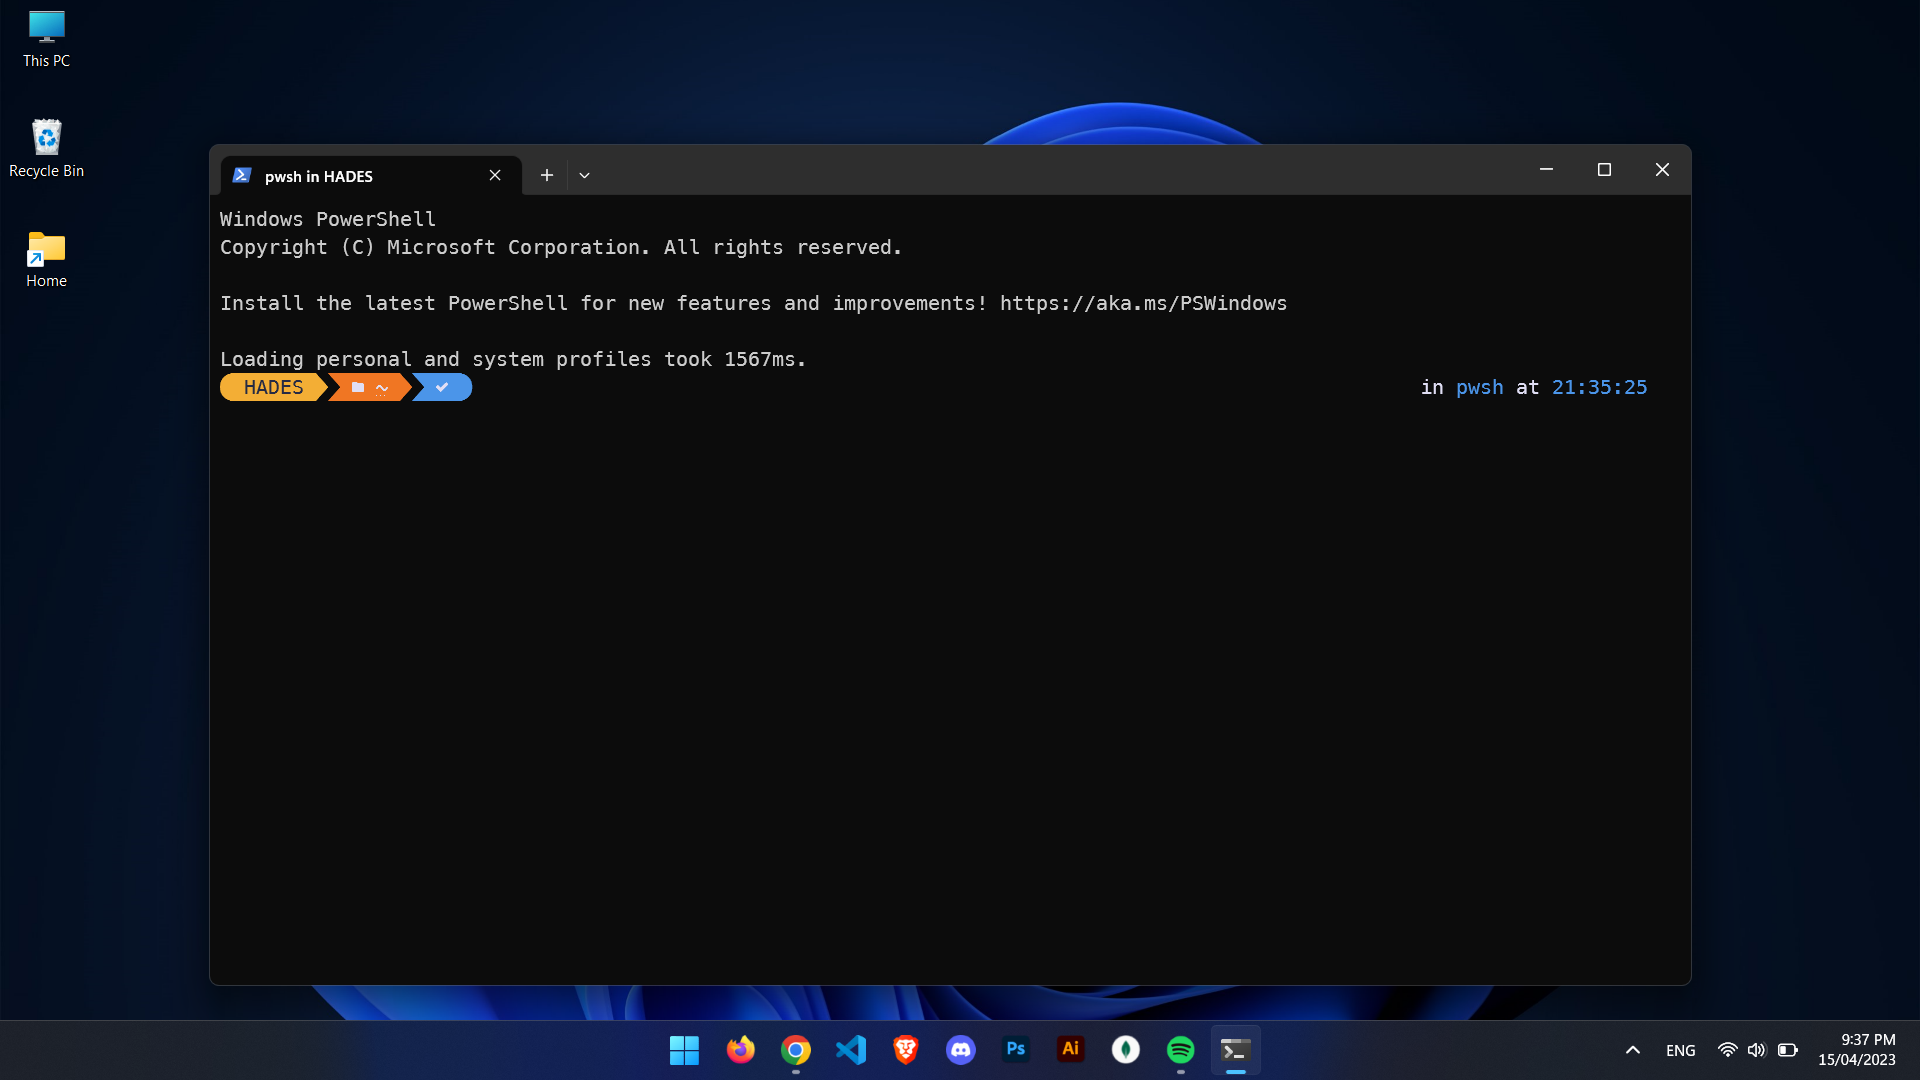
This will reload the terminal and your terminal should change to something like this
As you can see oh-my-posh is working now, and it's showing a default theme, but it looks kind of broken right? It's cause we are not using the proper font that supports the glyphs that are needed for the proper appearance of the theme.
Adding fonts (nerd fonts)
So let's go ahead and install a proper font to use in our terminal, oh-my-posh recommends nerd fonts. Since they recommend a font in their docs let's just go ahead with that and download it here, it should download a zip file, go ahead and unzip then install the fonts on your system.
Now to use the font in our terminal, go to the terminal window and hit ctrl + shift + , this shall open up settings.json file, now add font.face property under defaults in profiles after changing it, save and exit from the terminal as well as the text editor that opened the settings.json file.
{
    "profiles":
    {
        "defaults":
        {
            "font":
            {
                "face": "MesloLGM NF"
            }
        }
    }
}
After reopening the PowerShell it looks like this now
Now we are pretty much done here, but we can customize the terminal to look even cooler, I'm talking about making the background of the terminal window blurry.
Click on the little top dropdown icon beside your tab and click on settings or directly use the shortcut ctrl + ,. It will open up the settings tab.
Now click on appearance then look for the 'Use acrylic material in the tab row (requires relaunch)' option, and turn that option on. After turning it on, save the changes.
And again from the left-hand side menu select the Windows PowerShell option under Profiles, now scroll down till you find the option of appearances under additional settings, click on that option.
After that scroll, till you see the Transparency section where you will see the option that says Enable acrylic material, turn that option on and you will also see the background opacity slider, you can set that slider as you wish, I'm going to set it at 70, now after saving the changes and returning to the terminal window, this is what it looks like.

Hope you like the new look of your terminal ;)